You know what I love? DEMIJOHNS! And/or Carboys! Which are the giant glass bottles I have been hankering after!
If you see one of these lying around, in sea-glass green (not green green) PLEASE BUY IT FOR ME! It's got to be like, the size of two big human heads. Really big. And round, as per above! And Meerkat got me one in Daylesford!! Looooooook!
Demijohn!!!!!
Anyway.
A couple of months ago I was driving with the Badger and Meerkat through Richmond after an Ikea trip and my eye was caught by the most beautiful geometric chest of drawers. Through the marvel that is the internet, I searched for the shop name, saw that they sold online, and found the unit...ta-da!
From
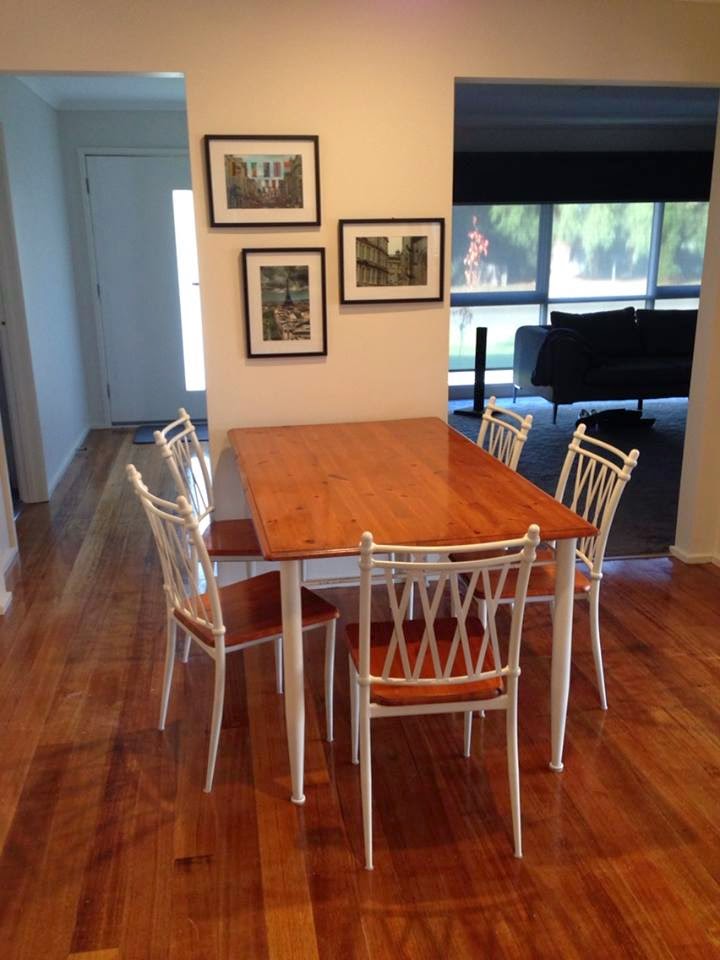
The Family Love Tree, for the bargain price of ...$1995. Yep, ouch. I also do not need a chest of drawers. But soooo pretty! So, what is there to do but put our own twist on this, on a different piece of furniture? Our table and chairs, which have been
partially renovated still need a bit of colour - at the moment its a wood table on wood floors and, well, you don't want too much wood. Just ask Tiger. So, I drew up some plans. On paint. This is what I ended up with.
Now I never said this was my strong suite. I'm good at doing, not at drawing up, when it comes to renovations. I mean, I can plan like a general, but designing by hand, nup. I'm out. The brown is the bits I'm leaving as wood.
So, the before!
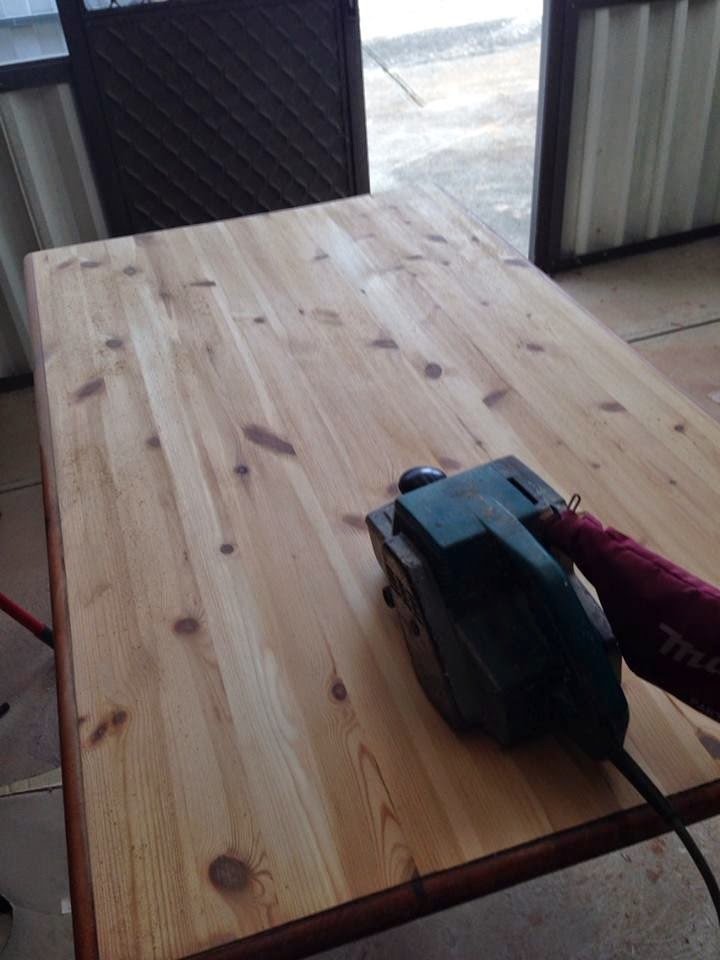
The first step - removing the orange varnish. I began this with the orbital, but after getting only about 3 inches done (in 10 minutes!), it (temporarily) died on me! Then I used Badgers, since he was around for the day working on our doors - Thanks again Badger! - but this wasn't making a lot of head way either, and the belt sander was beckoning. After what seemed like 4 minutes later, the table was sanded! Thanks belt sander!
Badger then took the rounded edges off with the circular saw - I forgot to take photos of this bit! But I love how much more modern the lines of the table are now!
Then it was time for maths! I divided up the table with a pencil and ruler, and then set about numbering it...
...and the paint chips, like so. An epic version of paint by numbers!
The first way I attempted this was by doing each colour individually. As I went to bed that night though, I started to worry that the three strips of triangles wouldn't match nicely if I continued in this way.
So the next day, I taped off the two long edges, and half of the triangles. I then rolled these on. Here was my second and third mistakes. Second - not pushing the tape down enough, leading to some bleeding. Third - switching to a nap roller instead of sponge. I used sponge on the first day and it went on beautifully but I had a bit of a brain fart and forgot how to wash it properly. After applying the yellow, green and a blue with a nap roller and seeing it was leaving a bit of build up, I remembered how to clean the foam one, and switched back.
Note: it was about here that I locked myself out of the house, couldn't break in, and had to walk to the house of Badger and Mumma Bear to await Badgers homecoming to break in through the roof. Who's having a good run? This girl.
This was a photo of the mid way point - it looks awesome from here but a bit closer and you can see the bleed in the lines. To fix this, I hit it lightly with the mouse sander, then taped these colours off and re-hit them with the foam roller. This helped especially with the yellow, as it's coverage wasn't great after the first two coats. But that's yellow for you! The coverage of a crocheted bikini!!
I then got back into the swing of things by taping off the alternative triangles on the edges, and painting these.
With this being the result. You can see my furry helper here. The weather was good so on this day I was able to tape off the middle section and get another bit done.
I then re-did the teal areas, where the bleed from the thick nap had made a small mess, and re-did some of the yellow again. I also took the orbital to the edges to give us our clean lines. Next, Puffin carried the table into the weather-proof environment of the shed (did you guys know we had a shed? I forget we do half of the time!) and I rolled on a coat of acrylic gloss varnish. According to the internet, acrylic goes best over water based (for what are probably obvious reasons to those of you who play with paint) and for anyone who has had the misfortune of having to use anything oil based, it's also easier to clean etc but it ALSO will, apparently, not make the timber go that yellow-y colour. Huzzuh.
I added another gloss coat the day after and finally, it was time to come back inside - the final final product, in it's place!
Before & After!
And that's it! I think that the triangles on the chairs AND the table make it look a bit busy, so down the track we might replace the chairs with some that match our bar stools, like these...

Maybe a mix of white and yellow chairs? We'll see. These are $59.00 each at Milan Direct. I might also swap the chair legs our at some point for some sexy chrome ones, if I see some that I like the look of.
What do you think bloggers? This project took over two months but if you had a solid week off you could knock something similar out in no time. My challenge was our weekends away (Hepburn and Tassie) and working just about every other day unless I had something on! But lo and behold on the final day of university holidays, it is complete!
Another post is going straight up later tonight, so keep your eyes peeled for Squirrel and Puffin updates!


.jpg)
.jpg)
.jpg)
.jpg)
.jpg)