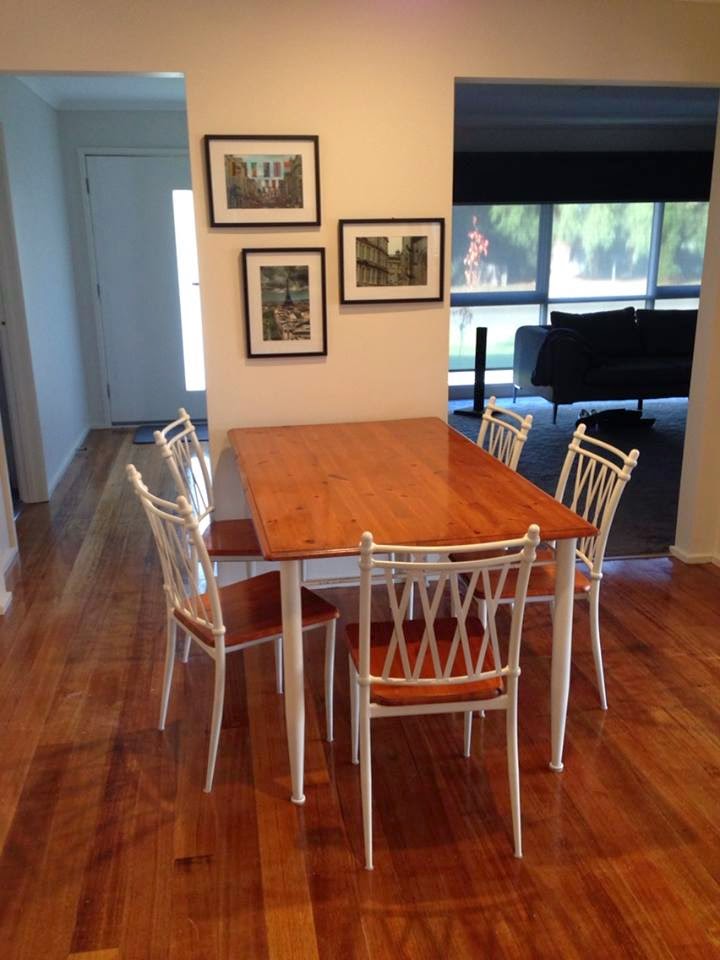
But first: our inspiration. Things Squirrel loves: yellow home accessories and DENIM! Oh ye gads I am so excited that denim and chambray are so incredibly 'in' at the moment. From these, we take today's projects! First up, denim project!
You will need: A 11 litre tub, Rit Dyes, Rubber Bands, Gloves, White tea towels. For one dye and the rest, total cost is $21.00 to make 10 tea towels! (Coles, Lincraft, $2 shop).
And what we are going to do is SHIBORI! There is a great tutorial here but basically - its a variation on tie-dying where you place 'things' into the fabric and tie it up so dye doesn't reach these areas. Above is an example of the different techniques I used. My favorite by far though was actually just dip dying the tea towels!
This was my set up - pegs on the line and holding the tea towels. I used the height adjuster on the clothes line to lower/pull the tea towel out of the dye slowly giving us an ombre effect. I loved this so much.
After each batch was done (I would leave Shibori ones in the dye for 45 minutes, and the dip-die 15 minutes for each band) I would hang and rinse these with cold water. I then ironed these, and machine washed them...and ironed again. Some of the directions I read online seemed to indicate that ironing it the first time would help to set the dye. Unforch, this didn't entirely work. I need to research this bit of it a bit more - perhaps adding salt? I followed my instructions on the dye but you never know. I did wash them all together with detergent and one of the towels was totally blue? Hmm.
Anyway.
This was a selection of the towels after the first iron. The only thing that changed was that any towels that had crisp white are now a light blue, and the ombre is much smoother, and less jagged. I like and also not like this.
As an example...
I then bundled these up, and they are ready to go as a cute handmade pressie! I would just love to know how to lock the colour a bit more? Suggestions very much appreciated!
NEXT PROJECT!
I've been eyeing off this yellow 'hello' from my local Bed Bath N Table for months - it's so FUN! And happy and welcoming! And the font is gorg. It is, however, $40. Which is perhaps a little rich... especially when you are on the sort of financial diet where you ask yourselves 'do we even need to buy bread? Couldn't we just use paper folded over a few times then toasted?'.
On a trip to Spotlight for, coincidently, the ribbon to finish off the above project, I came across this
for $4.95! (And can be found at any Kaisercraft stockist!). Now you're speaking my language.
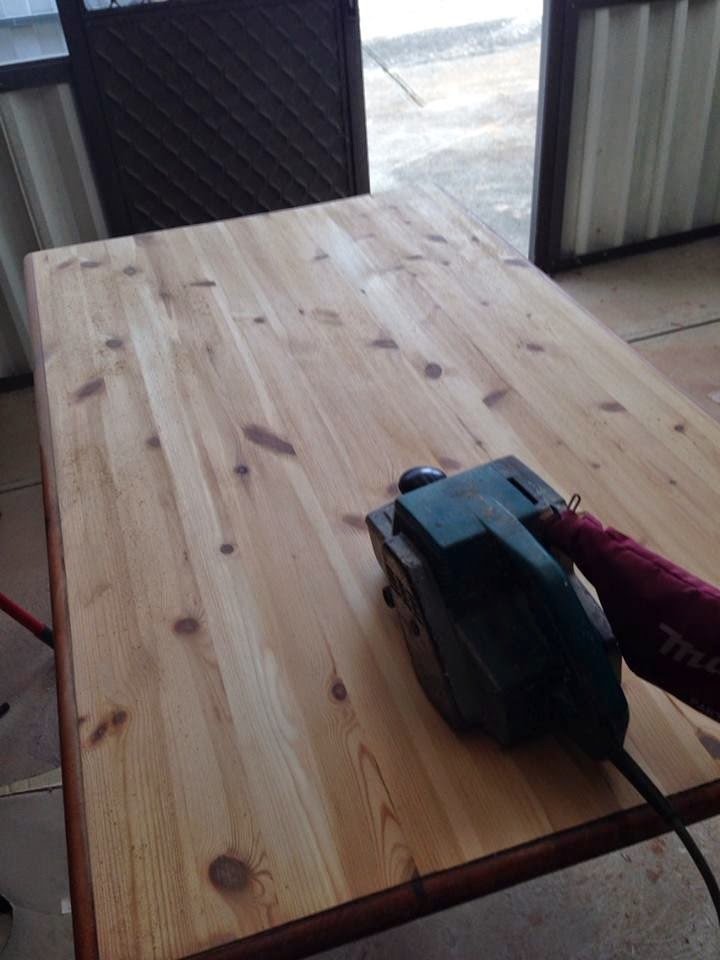
I rounded up my supplies - roller and tray, paint leftover from the table makeover, and my trusty mouse sander. First I hit the whole thing lightly with the sander - especially the tops of the 'h', and 'l's as they were a little too straight for my liking. I used the brush to get all the inside and outside edges, before hitting the front and back with the roller - wanting to get a smooth finish like the table.
As with the table, (using yellow paint on a wooden finish) this takes quite a few coats- 4 or 5 maybe? It's just getting that coverage and depth of colour you want. Once you're happy with the colour, chuck a clear coat over the top for protection and a bit of gloss, set outside in the sun to cure and dry and you're done!
Now is just deciding where this will live - in the bookcase that you see on the way in, or on the entertainment unit with a few decorative friends? Oh I can't wait to show you some of the things we are getting for Christmas bloggers, some typography-inspired fun, and some more yellow pops for the kitchen!
And that's it! What have you been making for Christmas, web-o-sphere?


.jpg)


